Intro to apps
Custom Visibility for Apps
Messages App
Payments App
Services
Invoicing
Subscriptions
Payment Links
Store
Client Billing Experience
Fees & Payment Reconciliation
Files App
Contracts App
Forms App
Helpdesk App
Tasks App
Client Home App
Profile Manager App
Airtable Embed
Calendly Embed
Notion Embed
Google Sheets Embed
ClickUp Embed
Typeform Embed
Youtube Embed
Autoresponder App
Exporter App
QuickBooks Integration
Xero Integration
Other Embeds
Jotform Embed
Power BI Embed
Hubspot Forms Embed
Hubspot Meetings Embed
Miro Embed
Figma Embed
Monday Embed
Canva Embed
Acuity Scheduling Embed
Loom Embed
Google Drive Embed
Google Slides Embed
Google Docs Embed
Google Forms Embed
Looker Studio Embed
Google Calendar Embed
Databox Embed
Trello Embed
Zoom Scheduling Embed
Squarespace Embed
OneDrive Embed
Intro to Contacts and Companies
What you need to know about contacts and companies
Overview 
In Assembly, Contacts (clients) represent individual users who log into your portal, while Companies group together multiple contacts under a shared organization. Together, they form the core of how you manage relationships, deliver services, and streamline communication.
Example contacts John, Jane, and your test client
If you create a new workspace, you’ll initially see 3 example contacts, John Doe, Jane Doe, and your test client that is automatically created using your email. If you have companies enabled, John and Jane will both be assigned to the company Rocket Rides. We only created these examples so that you can explore workflows right away. For example, you can click on John Doe to see the Contact details page. You can delete the example contacts at any time.
Contacts and companies
Using Companies to Group Contacts
When Companies are enabled, you can group multiple contacts under the same organization. For example, if both John and Jane work at Rocket Rides, you can assign them to the Rocket Rides company to manage them together.
In the Assembly Dashboard, companies allow you to:
Organize contacts by linking them to the company they belong to.
Take actions at the company level, such as sending messages or invoices that are visible to all associated contacts.
In the client portal, contacts associated with a company can:
View their teammates on the Settings > Team page.
Invite other contacts to their company (internal users can enable or disable this feature in Settings > General).
Contact and company configuration
Your setup in Assembly depends on who you serve:
If you work with individuals:
Go to Settings > General and disable the Companies feature. This will remove company-related fields, messaging, and file-sharing options, keeping everything contact-specific.
If you work with businesses (i.e. companies with multiple users):
Enable Companies in Settings > General. This will unlock:
Company-level fields
Shared messaging and file channels
Company-based billing
If a contact isn’t assigned to a company, billing and features will default to the individual level.
NOTE: When Companies are enabled, payment methods are stored at the company level and shared across all company members.
CRM
Start a free 14-day trial to create custom subscriptions for your business today.
The CRM page is where you manage all of your contacts and companies.
If Companies are enabled, you’ll have access to both the Companies and Contacts views.
If Companies are disabled, only the Contacts view will appear.
Companies View
The Companies view displays a list of all companies in your workspace, along with their creation dates.
The menu to the right of a company will allow you to view company details, and edit or delete a company.
Actions available at the top of this view:
Search: Filter companies by name.
View: Choose which columns to display.
Export: Download your current company list as a CSV. (If filters are applied, only the filtered list will export.)
Create: Add new companies or contact, import from CSV, or copy the contact signup link (if enabled in
Settings).
Company details page
Click View details or double-click on a company to access the Company Details page.
You’ll see tabs for each app available in your workspace.
For apps that support both contact- and company-level channels, you can:
Access the company-wide channel
Use the dropdown on the right to view individual contact channels within the company
Apps with company channels include:
Messages
Files
Invoices
Any app using a manual setup type connected to a company
NOTE: Contracts and Forms cannot be assigned to companies. In those tabs, only individual contact assignments will appear based on the selected contact from the dropdown.
Company details panel
On the company details page, to the right of the apps section is the company details panel.
In this panel, you will be able to view the following:
Company name
Creation date
Contacts assigned to the company
Company payment methods
NOTE: Company payment methods are shared between all contacts of a company. If a contact who belongs to a company adds a payment method, it will be available to all members of the company and appear in the list of payment methods for the company.
Subscriptions assigned to the company
Internal notes
Use the menu in the top right to edit or delete the company.
Contact view
The Contact view will show a list of existing clients in your workspace.
The menu to the right of a contact will allow you to view contact details and edit or delete a contactt.
Actions available at the top of this view:
Search: Filter contacts by any field.
View: Choose which columns to display.
Export: Download your contact list as a CSV (filtered view applies).
Create: Add contacts or companies, import from CSV, or copy the client signup link.
Contact details page
ClickView details or double-click a contact to access the Contact Details page.
Tabs will display for each available app. For apps with both contact and company support:
You’ll first see the contact’s channel
If they belong to a company, use the dropdown to switch to the company channel
The More tab shows:
Manual setup apps linked directly to the contact
If the contact is part of a company, switch to the company to view all automatic and manual apps linked to the company
Contact details panel
On the contact details page, to the right of the apps section is the contact details panel.
In this panel, you will be able to view the following:
Name and email address
Date joined, total spend, and last login
Note: Last login refers the the last time a contact signed in with their credentials, it does not reflect the last time the contact was active in the portal.
Properties: Company and all custom fields. These reflect the fields that are viewable columns in the main Contact view.
You can manage all custom fields for your workspace from any contact details panel, but the values shown are specific to the currently selected client. For more information on managing custom fields, please see here.
Contact payment methods
NOTE: If a contact belongs to a company, the payment method is stored on the company level. Any payment method for a contact that belongs to a company will be visible to every other contact in the company.
Subscriptions assigned to the contact
Internal notes
From the menu in the top right, you can:
Edit name
Delete the contact
Change profile image (hover and click the pencil icon)
Managing Contacts
Contact statuses
Contacts can have different statuses. They work as follows:
Status | Definition |
|---|---|
Invited | The contact received an email invite that prompted them to finish creating their account. Creating an account involves either setting a password or signing up with Google. |
Active | The contact successfully activated their account. |
Email Notifications
Many actions you take, like sending a message or assigning an invoice to a client, trigger email notifications. If your client is in the Not Invited status, the default setting is to send email notifications. However, you can disable email notifications by going to Settings > General and toggling off the Send client email notification in uninvited status option.
Disabling this setting can be helpful if you want to set up a contact account first (upload files, assign forms, etc.) and then send out a single invite email notification.
How to Create Contacts
There are three ways to add clients to your CRM:
Create one at a time from the Contacts page.
Import multiple contacts via CSV upload.
Allow self-serve sign-up via a public signup link.
Each method is detailed in the next sections.
Managing Companies
Creating a Company
You can create a new company from either the Companies view or directly within the Contacts view.
From the Company View:
Go to the Companies page.
Click Create > Create Company.
Enter the company name and assign or create contacts as needed.
From the Contact View:
There are two ways to create or assign a company from the Contacts table:
Click the building icon in the Company column for any contact.
Click the name of an existing company in that column to edit it.
A dropdown will appear with a list of existing companies. Start typing to search.
If no match is found, you'll see the option to create a new company.
Type the full name of the company you want to create, then click Create to add it.
How to add a Contact to a company
Go to the Contacts page.
Click the contact’s name to open their details page.
In the Companies section, click the + icon and choose a company from the dropdown.
Assigning a Contact to Multiple Companies
To add another company to a contact:
Go to the Contacts page.
Open the Contact’s Details page.
In the side panel, find the Companies field.
Click the + button and search for or create a company
NOTE: Contactd can be assigned to up to 30 companies.
How to remove a Contact from a Company
Go to the Contacts page.
Click the contact’s name to open their details page.
Locate the Company field in the side panel.
Click on the menu button (⋯) next to the company you want to remove, then select Remove.
How to Delete a Company
Go to the Company view.
Click the menu button (⋯) next to the company, then select Delete Company.
Contact and Company channels
Channels are used in the Messages and Files apps to communicate or share content with:
Individual contacts
A group of contacts (within the same company)
An entire company (i.e. all contacts assigned to that company
Creating Channels
If Companies are enabled in your portal, you can set the Default Contact association setting to either individual or company channels. If the channel already exists, you'll be redirected to it instead of creating a new one.
To manually create a new channel:
Go to the Messages or Files app.
Click the menu button (⋯) at the top of the channel list.
Select one or more contacts, or choose a company.
Click Submit.
Channel Types
The type of channels you can create depends on whether the Companies feature is enabled.
Contact Channels
One-on-one channel with a single contact.
Only the selected contact can view the messages/files.
Cannot be edited or deleted manually, unless a contact is in another channel. If they are not, to remove the channel, the contact must be deleted.
Company Channels
Shared with all contacts assigned to a specific company.
Membership updates automatically when contacts are added to or removed from the company.
Group Channels
Includes two or more contacts within the same company.
Cannot be created with contacts from multiple companies.
Can be edited by clicking the menu button (⋯) in the top-right of the channel, then selecting Edit members.
Default Channels
If you have Companies enabled, you can set the Default contact association setting by going to the Settings > General page. This setting determines whether message and file channels are automatically created for individual contacts or entire companies.
If Individual contacts is selected:
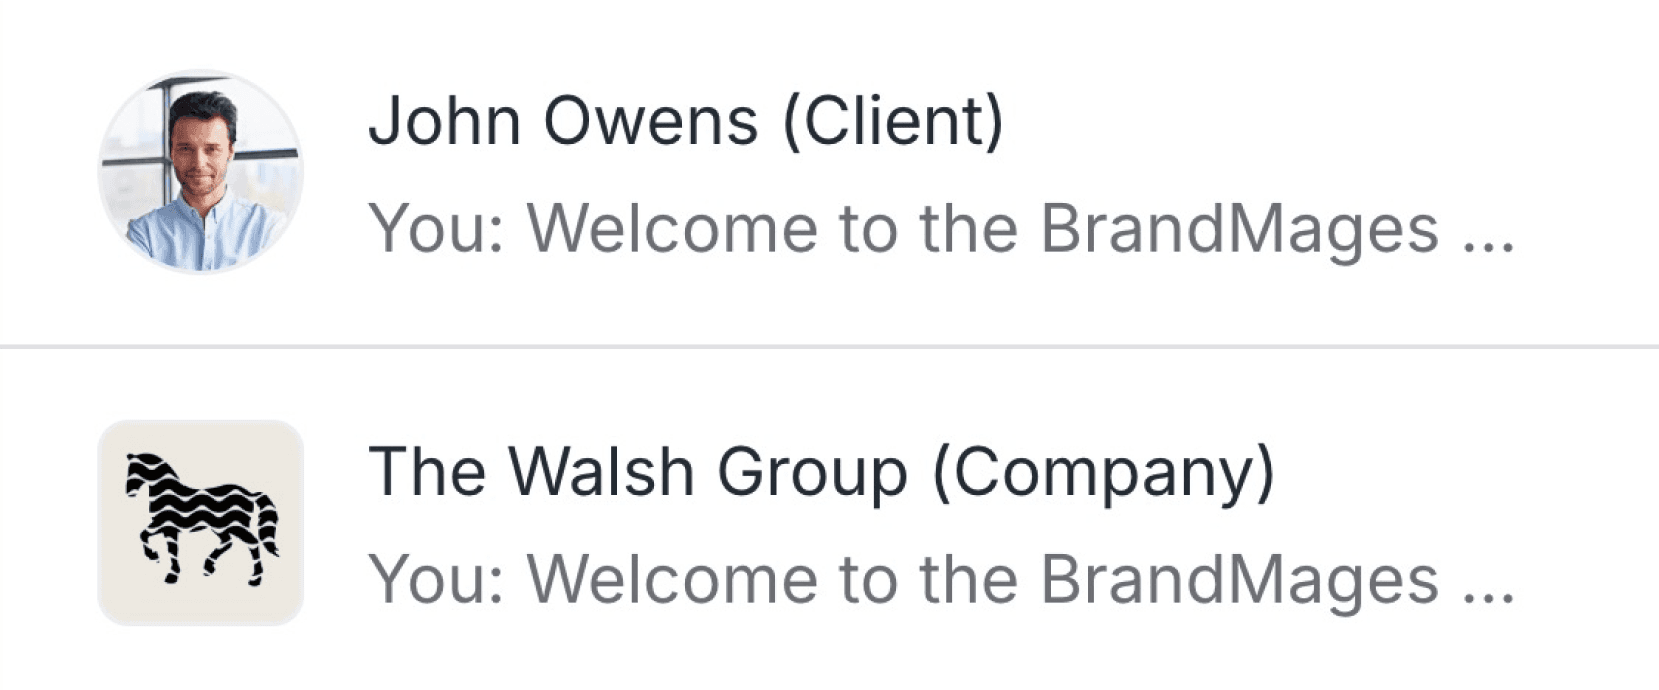
Channels are created for each contact individually. These channels display a circle icon in the Messages and Files apps.
If Companies is selected:
Channels are created for each company. These channels display a square icon in the Messages and Files apps.
You can still create a channel of a different type than your default. If your default is set to Companies, but you need a private channel for a single contact within that company, you’ll need to manually create an individual contact channel. The same applies in reverse if your default is set to individual channels.
To create another channel:
Go to the Messages or Files app.
Click the menu button (⋯) at the top of the channels list.
Select Create channel, then choose your desired contact(s) or company.
Editing channel members
Contact channels cannot be manually edited. However, they can be deleted if the client is also a member of a company or group channel.
To delete a contact channel:
Open the contact channel.
Click the menu button (⋯) in the top-right corner.
Click Delete file channel.
NOTE: If the contact is not part of any other channel, their individual channel cannot be deleted.
Company channels automatically include all contacts assigned to the company. To update who has access:
Go to the Contacts page.
Add or remove the company from a contact's profile.
The company channel will update to reflect the new list of members.
Group channels can be edited at any time.
To do this:
Open the group channel.
Click the menu button (⋯) in the top-right corner.
Select Edit members.
Use the checkboxes to add or remove contacts.
Channel behavior for multi-company contacts:
A contact can have one individual channel per company.
Individual Contact channels and Company channels are only visible in the corresponding company portal view.
Group and Company channels also remain scoped to one company.
Contacts will only see channels and content relevant to the company view they are currently in.
Client Experience for Multi-Company Contacts
When your clients are in multiple companies, they will be able to:
Use a single email login to access all of their assigned company portals.
Switch between companies using the sidebar in their portal.
Receive company-specific notifications.
View and interact only with the messages, files, contracts, forms, and apps related to the selected company.
See only the messaging and file channels tied to the company they are currently viewing.
Switching Between Companies in the Client Portal
In the client portal, clients can easily switch between company portals using the sidebar on the left. Each company will appear as an icon or label in the sidebar. Clients simply click the company they want to view, and the portal will update to show only the messages, files, contracts, and other content for that company. This sidebar also surfaces cross-company notifications, so clients know when they need to switch companies to take action.
Terminology
You can customize the default terms used in your portal for both individuals with log-in access (referred to as “Contacts”) and groups of multiple entities (referred to as “Companies”). This customization applies across your client-facing portal as well as your internal CRM, giving you the flexibility to choose terminology that aligns with your business model and better reflects the relationships you maintain with your clients.
Default Terminology
By default, your workspace will use the terms Contact to refer to an individual and Company to refer to a group that includes multiple clients.
Changing Terminology
Go to Settings > General.
Scroll down to the Terminology section.
For both individual and group terms, you can:
Choose from the predefined options in the dropdown (shown in the table below).
Or select Other to create your own custom term.
Once finished, click Update.
Everywhere that previously displayed Clients or Companies will now reflect your selected terminology.
Individual Terms | Group Terms |
|---|---|
Contact (default) | Company (default) |
Client | Group |
Person | Family |
User | Space |
Other (custom) | Other (custom) |
Frequently asked questions
How do I edit the icon or name for a company?
To edit a company, click on the company in the Company column on the Clients page. A dropdown will appear with a list of existing companies.
Click the 3 dots next to the company you wish to edit (you can search for companies by typing in the dropdown).
An edit modal will appear where you can change the name and icon for the company.
To change the icon, click on the company icon in the edit modal and select an image from your device to upload a new icon.
To change the name, type the new name into the Name input.
After making your changes, click Save to update the company settings.
How can I change the profile image for clients and companies?
To change the profile image for a client, click on the client in your Clients page and the User details panel will appear on the right. Hover over the profile image and you'll see an Edit icon. Click on the profile image and select an image from your local device.
To change the profile image for a company, click on any company field in your Clients page. A dropdown with all companies associated with your portal will appear.
Click the 3 dots next to the company you wish to update and select Edit. The Company details panel will open. Hover over the profile image and you'll see an Edit (pencil) icon. Click on the profile image and select an image from your local device.
Can I update a client's email address?
Currently an internal user cannot update a client's email directly. This is a feature on our roadmap.
There are two workarounds:
-
Ask the client to log in and click on Settings > Account. On this page, the client can update their own email address.
-
Go to the Clients page and click on the client to navigate to the Client details panel. Click the 3 dots in the top-right of the panel and select Reset password. Proceed to reset the password, log in as the client and update the email address in their Settings > Account. Then, log out as the client and reset their password again from the admin dashboard, and send the new temporary password to the client.
What are best practices for inviting clients and getting them active?
Foundation: Offer clients an experience that feels familiar
When clients sign up for your portal, it is important to offer them an experience that feels familiar and safe. We recommend that you:
- Connect a custom domain. A custom domain will make clients feel more secure because they are now on a URL that you own.
- Connect a custom email domain.They will now receive their invite and other email notifications from a known sender. Email notifications are also less likely to go to spam.
- Customize your portal. Upload your your logo, set your color scheme, and add your login image.
- Customize your Apps. Disable Apps you don't need, reorder them based on importance Apps, and update their names and icons.
- Set up a friendly welcome message. If you have the Messaging App enabled, new clients will receive a welcome message the first time they log in.
Inviting clients successfully
Your goal should be to make all your clients Active. Active means that the client has successfully accepted their invite and set their password. We have some tips:
- Before inviting your clients, tell them about the invite in advance, so that the email invitation they receive doesn't come as a surprise.
- If the client hasn't accepted their email invitation in a few days, you can click on the actions button and click on "Resend invite" to resend the email invite. You can repeat this process as many times as you like, but we recommend to do it no more than 2 or 3 times. If the first invite wasn't accepted you may also consider reaching out the client directly and walking them through the process.
- If the above step doesn't work, you can also try a more hands-on approach. Click on the actions button for the client, select "Resend invite", and copy the invite link. You can now paste this link into an email or SMS, and manually send the invite link to the client with a customized message.
You can invite your clients individually, or you can also bulk import clients from a .csv file. You can read more about importing clients here, and instructions for creating and inviting clients can be found here.
Letting clients self-serve sign up
If you instead want to let a user navigate to a page where they can self-serve sign up, you may consider enabling direct sign up.
How can I reset my client's password?
To reset a client's password, click on the client to open the client details panel on the right. In the top-right corner, click the menu button and select 'Reset password'.
A temporary password will be displayed- copy this password and click 'Save'. Then, send the temporary password to your client.
They will be able to log in using the temporary password, and they will be prompted to reset their password upon login.
- Overview
- Example contacts John, Jane, and your test client
- Contacts and companies
- Using Companies to Group Contacts
- Contact and company configuration
- CRM
- Companies View
- Company details page
- Company details panel
- Contact view
- Contact details page
- C
- Managing Contacts
- C
- Email Notifications
- How to Create Contacts
- Managing Companies
- Creating a Company
- How to add a Contact to a company
- Assigning a Contact to Multiple Companies
- How to remove a Contact from a Company
- How to Delete a Company
- Contact and Company channels
- Creating Channels
- Channel Types
- Default Channels
- Editing channel members
- Channel behavior for multi-company contacts:
- Client Experience for Multi-Company Contacts
- Switching Between Companies in the Client Portal
- Terminology
- Default Terminology
- Changing Terminology
- FAQ